- Home
- Classic Ski Wax Guide
Classic ski waxing: An easy and understandable guide to get good grip and perfect glide
In
this classic ski wax guide, you will discover how to wax your XC skis for
perfect grip.
If you have been searching for a simple classic ski wax guide, you have come to the right place. Like for skate skis, you wax the glide zones (tip and tail) the same. You can find the info in the skate ski guide.
In compare to skate skiing, applying grip wax to classic skis is a bit more tricky depending on the snow conditions.
There are a lot of different ski wax brands on the market. But in this classic ski guide, I recommend that you don’t need to keep every wax product in your toolbox. You can do fine with a few chosen waxes of 3 – 4 different wax brands.
When choosing the right wax for your next Nordic ski race, it is important to observe the three main factors. They are the temperature, the humidity, and the snow grain. Depending on those characteristics, you can then make your decision when choosing the right ski wax.
Make sure you measure at several points along the course. You should also make particular attention to key points such as flat terrain sections. Of course, for training purposes, there is no need to measure the snow temperature in different locations.
This would only be necessary before a
ski race. But in this wax guide for classic skiing I want to point out that even in training you need to play around to get the right wax mixture.
So there are some important factors to know:
Air Temperature
The temperature specifications on most waxes refer to snow or air temperature. Unless otherwise stated, use the air temperature. The first reference point for choosing the right wax is to measure the air temperature in the shade.
You should also measure at different locations along the racing course. At the same time, pay special attention to key points such as in flat terrain sections. Make sure that you always measure on the surface of the snow.
But, once the temperature reaches the freezing point (0°C or 32°F), the snow will hold that temperature. And it doesn't matter if the air temperature continues to rise. In this case you should adapt to the air temperature and concentrate on the water content in the snow as a further indicator.
Humidity
Humidity is very important, but you should pay more attention to the local climatic conditions. Examine whether the race will take place in a dry climate zone with an average humidity of less than 50%. Or is it rather in a normal zone of 50% to 80% or in a humid climate zone of 80% to 100%.
Of course, for this you must also consider the present precipitation.
Snow Grain
It’s important to look at the shape of the snow crystals and so the surface of the snow to choose your ski wax. Falling or very fresh snow presents the greatest challenges when ski waxing.
Sharp snow crystals need a wax into which the snow crystals cannot drill in – this applies to the kick wax. At the same time, it shouldn’t let the wax tear off from the ski base and has water-repellent qualities at warmer temperatures.
Nowadays and because of climatic changes, you will find artificial snow more often in ski races. New produced artificial snow at cold temperatures requires a wax whose temperatures range is still below the currently measured.
Older artificial snow shapes the surface structure by the surrounding atmosphere. It resembles again to normal snow conditions with common gliding properties. Even if the air temperature rises above 0°C (32°F), the snow temperature remains the same at 0°C.
In this case, only the water content of the snow changes until the snow is completely saturated with water. And that’s why this snow conditions, you need waxes with a high level of water repellency and very coarse ski base structures.
Also important before waxing is the right base structure, but I haven’t included it in this classic ski wax guide. I have written a separate page where you will discover how to prepare your base structure before waxing.
Preparing the kick zone
Before you treat the kick zone, you must finish the glides zones. The length of the kick zone should be in the range of 40 - 65 cm (15.7 - 25.5 in) for both hard wax and klister. Usually, the kick zone is measured from the heel of the ski booth forward.
If your skis are still slipping after applying the grip wax, extend the kick zone forward. It’s better to have a good kick by extending the kick zone if necessary. And it influences the glide much less than you would imagine. Besides it’s more enjoyable to train when you have good grip.
For both hard and klister grip waxes, you can include a base binder, a blue range, a violet range, or a red range. If it’s very cold, you could include a green range.
And in icy snow conditions, you should always use a binder (green) to get good grip. The best way to get a binder on your grip zone is using your iron.
After that and depending on the snow conditions, you can add blue, purple, red special (for damp conditions), or red (for slush) or universal klister.
 This XC ski truck follows skiers around in the world cup circuit. Here inside, ski technicians wax several dozen skis almost daily
How to apply hard grip wax
- Before waxing for grip, glide wax the tip and tail zones of your skis.
- Take some masking tape and paste it to mark your grip zone.
- Now clean the grip zone with wax remover but be careful not to get any wax remover on the glide zone.
- Once the grip zone dried up, use 80-grit sandpaper for abrasive snow and move from the front to the back of the grip zone. For non-abrasive snow, you should use 120-grit sandpaper.
- Remove any hairs that might have tacked to the base with a plexiglass scraper.
- Now you need to decide if you want to cork in a base binder first. If that is the case, leave your skis outside freezing for a while.
- Leaving them outside allows you to rub on thin layers and thus avoiding big lumps which are difficult to spread out with a cork.
- Next is to warm up the ski with a waxing iron or heat gun and spread out the binder. Use a cork or your hand palm and work the binder into the ski base for better adhesion. Put your skis outside again and let them cool down for a few minutes.
- Now you are ready to rub on 3 to 4 thin layers of wax into the grip zone. Use a cork to smooth out after each layer.
- If you still don’t get enough grip, add 2 more layers or a warmer wax.
How to apply klister
- If you want to use a binder like for example in icy track or artificial snow conditions, use a hard binder (preferably green). To put on klister, make sure to keep your skis in a warm room.
- To warm up the klister, you can either heat it up with a heat gun or place the tube in a tin of lukewarm water. But be careful, because if it is too warm, it will run everywhere and make a mess.
- Now place your skis outside for a while and let the binder cool down.
- Then apply 3 to 4 layers of klister according to the snow conditions.
- Use first a scraper and then a cork to smooth it out. Note: I rather use my hand palm then a cork.
- If you can’t get enough grip, add one or two more layers. Be sure to leave the skis outside before trying.
- If you can’t get enough grip after several layers, apply one or two layers of a warmer klister in the center of the wax pocket.
- When you find that it is too sticky, go back and cover it again with a layer that you used at the beginning.
- When all this doesn’t help, you have no other choice but to scrape it all off with a Plexiglas scraper and do the procedure again with a softer klister.
I hope that you could find some value in this classic ski wax guide. Above all, you shouldn’t be intimidated by classic ski waxing, because it is like everything else a matter of experience.
- Home
- Classic Ski Wax Guide
Recent Articles
-
Best Skin Skis - 2021/22 review
Oct 18, 22 03:55 AM
 The best skin skis have had a breakthrough over the last few years. For most using grip wax for classic skiing is a thing of the past.
 -
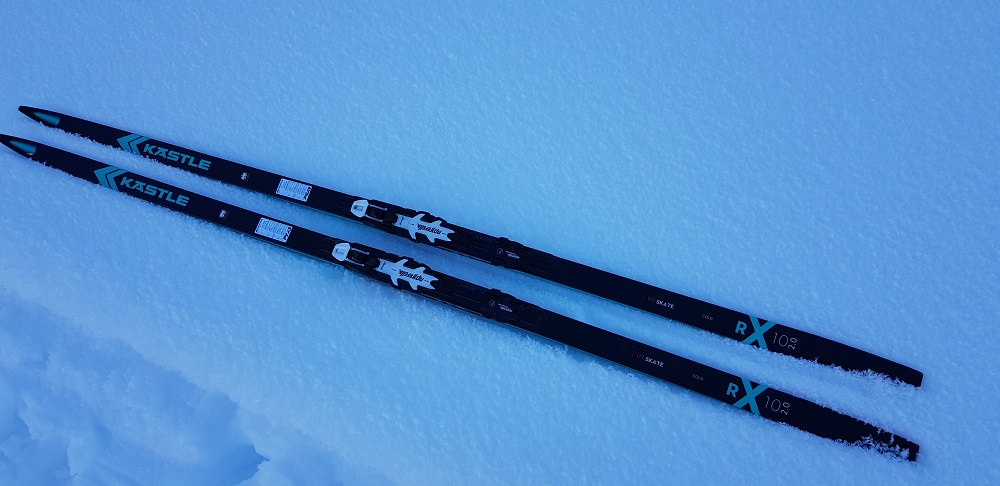
Kaestle RX10 2-0 Skate – The perfect ski for warmer temperatures
Jun 02, 22 04:14 PM
 Kaestle RX10 2-0 Skate promises in combination with the performance finish, unrivaled gliding properties. A perfect racing ski for athletes who want to be fast
 -
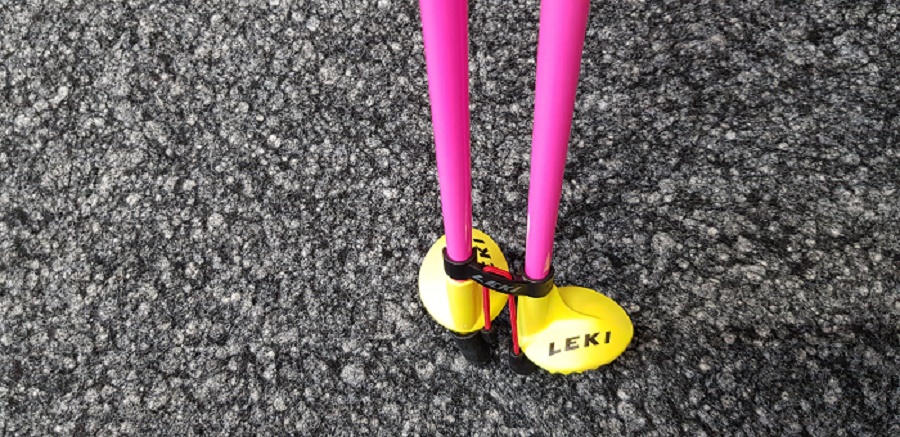
Cross country ski poles: the four important components
Jan 13, 22 04:16 PM
Using stiffer and lighter cross country ski poles with composite shafts is a real advantage when you are skiing on groomed ski trails.