- Home
- Skate Ski Wax Guide
Skate Ski Wax Guide for Recreational Ski Race Athletes
A skate ski wax guide for high performance skis to get you faster to the finish line
In this skate ski wax guide, you will discover that it's not complicated to wax your skating skis for maximum glide.
If you are like most cross country skiers, you don’t want to hot wax your skis yourself. You just rather go to a ski shop and let them do the job for you. Or you hot wax your skate skis only once or twice during the ski season.
I understand you well because I rather spend my time on the ski trails than waxing in the basement. On the other side, it’s more fun if you have good gliding XC skis. And it’s not complicated and doesn’t take a lot of time to wax your skis.
So, in this skate ski wax guide, I advise you that you can wax your skis in a very time efficient way. For training purposes, this is sufficient. There is no rule of thumb that says how many kilometers or miles you can ski before you should wax your skis again.
There are 2 ways to apply glide wax to your skating skis. One is through liquid spray application and the other through hot waxing. Applying liquid wax is of course faster. But you should hot wax your skis more often than just before an important race. Practice makes perfect!
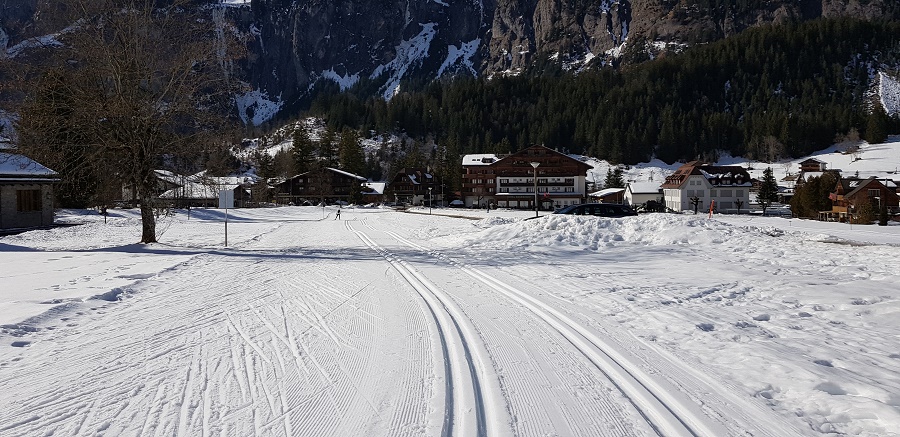
 XC skis waiting for a new coat of wax before they are ready again to be used in the ski tunnel in Oberhof, Germany
Before you start the job in your basement, it’s necessary that you have some tools ready:
- A solid portable bench and a ski vise that will hold your skis
- Base cleaner with fibertex applicator
- Fibertex for removal of oxidation on new ski bases
- Fiberlene cleaning towel or an ordinary rag
- Plexiglas, metal, and groove scrapers
- Different brushes: nylon, steel, bronze, horsehair and a combi-brush
- Waxing iron to control the heat (only if you are hot waxing)
- Extension cord
- Wax remover
- File and sandpaper (100, 120, 300 and 320 grit)
- And of course, you need the corresponding waxes
Note: If you are an elite XC ski master, you have most certainly a ski wax kit with all the tools and ski waxes of different brands. Then again you may be new to Masters XC ski competition. If that is the case, I hope that this skate ski wax guide will help you to make waxing a bit easier.
Ski Base Preparation
New racing skis appear with a minimum base preparation for waxing. If that shouldn’t be the case or if you are preparing used skis for waxing, do the following:
- Fix your skis on the waxing table with ski vises.
- Now check your skis and look for bumps and cuts.
- If you see bumps and tears, it might be better to look for a ski shop and let them stone grind the ski bases.
- Do it yourself: Use a meal scraper and make a few moves from tip to tail in a continuous motion. Be very careful not to ruin your bases. It’s best that you have some practice with this or try first on a pair of old skis.
- After that, use a sanding block with a 100-grit sandpaper.
- Move again enough times from tip to tail until the base is flat.
- Duplicate this procedure using a gradual version of sandpaper all the way up to 320-grit until the ski base is smooth.
- The last step is finishing with fibertex with a few passes from tip to tail.
How to apply liquid ski wax
Most liquid glide waxes are simple and quick to put on. It’s a hassle-free way to prepare good gliding skis without taking your complete waxing box along with you. Today, the ski waxing companies do a lot of research to bring new liquid glide waxes to the market.
- Brush out well your skis with the bronze brush. Now use a glide wax cleaner (not a base cleaner as this is for grip wax only.
- If you are skiing more than 20k, apply first a base liquid paraffin that corresponds to the day's snow conditions. For ex: Base Performance Liquid Paraffin blue 100m.
- Then scrape off the excess paraffin out of the ski base with a steel brush.
- After that, use a good coat of the liquid wax over the whole glide zone.
- Leave your skis for about 30 minutes or until the liquid is dry. This will take few minutes for the solvents to evaporate.
- After the liquid is dry, remove all wax out of the grove with the grove scraper.
- And then it's time to polish the bases with a nylon hand brush or nylon roto- brush. Doing 10 passes with a hand brush or a few passes with a roto brush should be plenty. And finally clean again with fiberlene cleaning or a cloth.
- When finished with polishing, you will notice your ski bases very shiny.
- If it is very cold or dry snow, finish with very fine sandpaper for ex. like the pink sandpaper from Ski Go. If there is a lot of moisture in the snow, then consider finishing your skis by adding the structure with a rill tool.
Skate ski hot wax guide
 Besides Toko, there are many other good wax brands on the market. Sometimes, I use red performance ski wax for training purposes.
Waxing your skate skis with hot wax takes a bit longer than applying liquid wax. But for training purposes, you can keep the time to a minimum. Like with the liquid spray waxes, there are four glide waxes that will cover most snow conditions.
It doesn’t matter what ski wax brand you use, the temperature range is similar to this
- Yellow for very wet snow conditions from +10°C to 0°C (50°F to 32°F).
- Red for normal winter conditions from +1°C to -4°C (34°F to 25°F)
- Violet for cold snow conditions from -2°C (28°F) and colder.
- Blue for very cold snow conditions from -10°C to -30°C (14°F to -22°F)
 If it's cold and dry, I use blue high performance ski wax without fluoro for perfect gliding skis
Ski base condition
Before applying any ski wax, make sure to brush out 4 or 5 passes with a bronze brush. This way you clean the ski base and to ensure best wax absorption.
Applying the hot wax
Plug in your waxing iron and set it to the recommended temperature shown on the wax package. Once the iron is hot enough, the wax should melt easy and let it drip onto the ski base. Keep the iron approximately 5cm above the base.
Ironing the wax into the base
Iron in the wax from tip to tail and make sure you keep moving constantly to prevent over-heating the ski base. Then let the skis cool down for about 20 - 30 minutes.
Scraping the groove
Now remove all the ski wax out of the groove with the groove scraper.
Scraping the ski base
Scrape the base with a sharp plexi-glas scraper but make sure not to press too hard or you could damage the base. Also scrape the edges and the sides of the ski.
Brushing
And finally brush the base with a bronze brush from tip to tail for at least 10 times. This will remove wax from the ski base structure to give better glide. If you have a bronze brush, you can also remove the wax with a cooper brush.
If you are a classic style XC skier, you may want to find out more on how to wax your skis with grip wax.
- Home
- Skate Ski Wax Guide
Recent Articles
-
Best Skin Skis - 2021/22 review
Oct 18, 22 03:55 AM
 The best skin skis have had a breakthrough over the last few years. For most using grip wax for classic skiing is a thing of the past.
 -
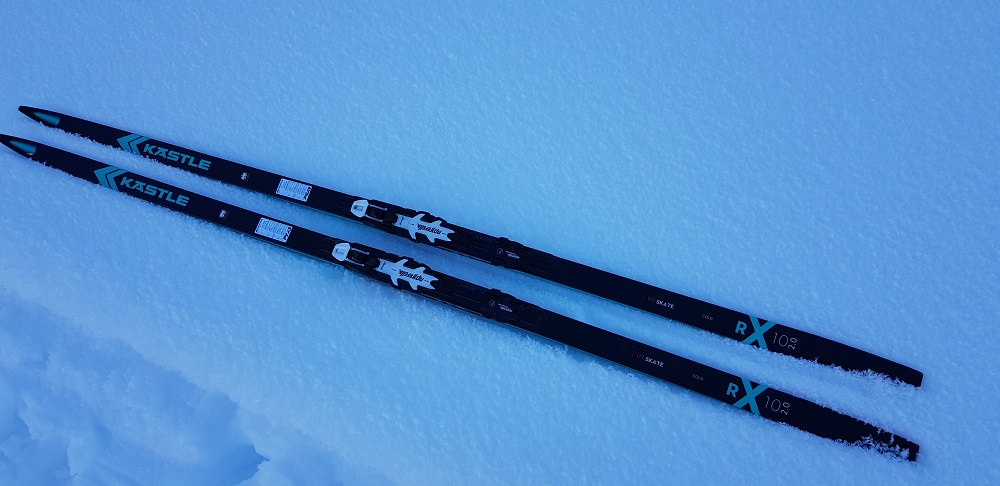
Kaestle RX10 2-0 Skate – The perfect ski for warmer temperatures
Jun 02, 22 04:14 PM
 Kaestle RX10 2-0 Skate promises in combination with the performance finish, unrivaled gliding properties. A perfect racing ski for athletes who want to be fast
 -
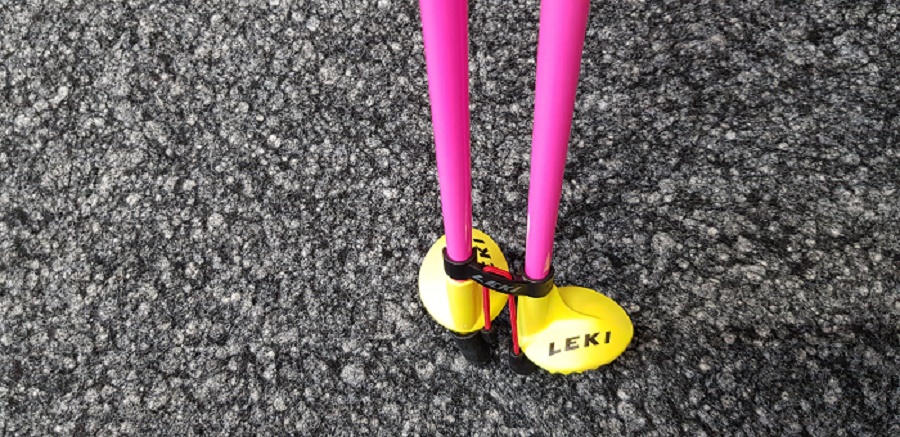
Cross country ski poles: the four important components
Jan 13, 22 04:16 PM
Using stiffer and lighter cross country ski poles with composite shafts is a real advantage when you are skiing on groomed ski trails.